Visual Sound Recorder s a powerful sound recording and playing software. You can use it to grab any sound, including microphone, VCR, Telephone, TV, Radio, Electronic Organ, Video Tape, CD Player, DVD Player, dialogs from movies, game sounds, Streaming Audio on Internet etc. Captured sounds can be saved in WAV, MP3, OGG, Vox, G721, G723, G726, G729, AC3 and AAC files. The program offers direct support for RealPlayer, Winamp, Windows Media Player, Power DVD, Flash, Quick time and many others. It also includes a built in mini player, so you can listen to your recordings immediately after you finished recording.
 System Required:
Windows 2000/Me/XP/2003/Vista/7/8
Full duplex Sound card
Enough free hard disk space to store output audio files.
key Features
- Visual Sound Recorder can record any signal played through your sound card into audio files.
- The Resulting File list box lets you manage your file recording easily. You can set the recording information and edit the resulting file with a simple mouse click on the list box.
- Visual Sound Recorder supports Sampling settings. To get higher quality recording, you can set the Sample rate, Mono or Stereo, and the Sample Bit, before recording. With its powerful sound engine, Recorder produces recordings with CD quality.
- Visual Sound Recorder integrates the complete set of record volume control for your convenience.
- There are a number of hotkeys which allow you to control the recording functions of Visual Sound Recorder while you are working in other programs.
Ctrl+Alt+R – START RECORDING
Ctrl+Alt+S – STOP RECORDING - Recording time schedule support can start and stop recording at any time you set.
- Direct to disk recording can go on for as long as you need, provided you’ve got enough disk space.
- Easy to use and intuitional interface.
How to use Visual Sound Recorder
Click “OutPut File” button, you can select the location on your computer that Visual Sound Recorder will save your recordings. You may also enter output file name. Audio files will be saved in this path with default names. Also you can create
the output file name automatically using current time. You may right-click on recordings in the list, from there you can playback the recordings, rename audio file or delete individual recordings. That sounds exciting in such a way, you may realize yourself becoming a DJ with all these instructions. You may also expand your mind by clicking at casinofrancaisonline.fr
Visual Sound Recorder supports a variety of Sampling settings. Click “Format Setting” button, you can choose Sample rate, Channel, Sample Bit before recording. Of course, a higher quality wave file will require more disk space. Choose high sample rates for CD quality recordings, lower sample rates for voice recordings. A typical stereo track of CD music at 44100 Hz 16 Bit will use from 20 to 60 megabytes of disk space. Experiment before making your final decision.
Record Device
A drop-down menu for your choosing of the ways to get audio source: mono mix, stereo mix, aux, CD player, line in, microphone and phone line.
- Stereo Mix: Record Audio from Windows Audio Resource – Audio from Windows Media Player, Winamp, RealOne Player, QuickTime Player, WinDVD Players, Streaming Internet audio, Games, Flash, please select the “Stereo Mixer” which might appear as “Stereo Mix”, “What U hear”, “Output”, “Mixer”, “Wave”.
- Microphone : Record Audio from Microphone, please select “Microphone”
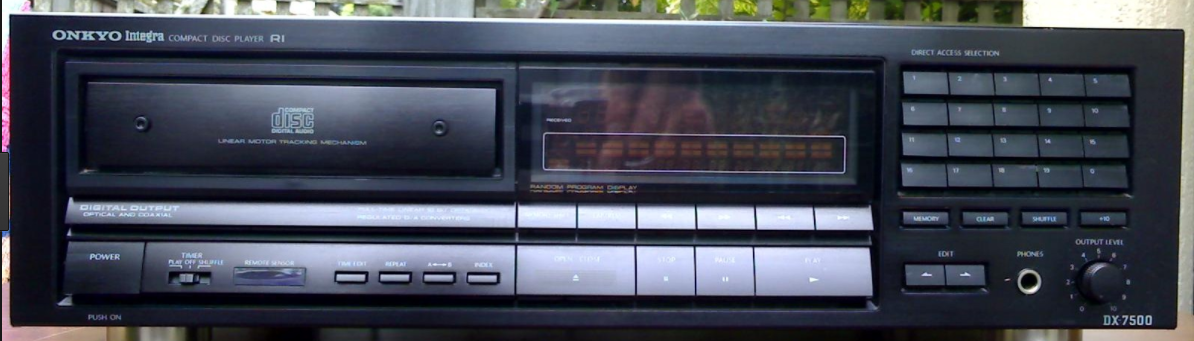
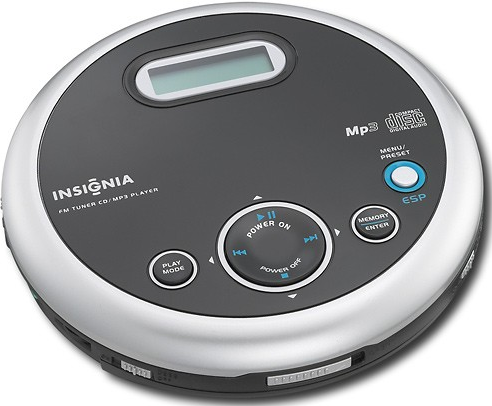
- CD PLayer: Record Audio from playing CD in the cd-rom, please select “CD PLayer”
- Line In: Record Audio from External Audio Sources – Turntable, Walkman, Discman, Tape Player, Videotape, Cassette Tape, CD/DVD Players etc, please select “Line In”.
For a better exercice, try your best to visit website developer if you want to have your presence online.
Output format
Choose a format for your output audio files. Different format will produce different audio quality and file size.
There are number of hotkeys which allow you to control the recording functions of Visual Sound Recorder while you are working in other programs.
For example, you can start Visual Sound Recorder first and then run other computer programs. It’s not necessary to switch to Visual Sound Recorder to start, stop or pause a recording. All you need to do is to press CTRL+ALT+R to record directly. (Note: Hotkeys don’t work with some DIRECTX-GAMES.)
Schedules will control recording according to the time being set. You can add or delete your schedules, save them to hard disk for future use or load them whenever you need. With the schedules, you will be able to record even if you are not around.
Visual Sound Recorder help you to organize your mp3s. With Visual Sound Recorder you can easily edit ID3 tags and keeping your musical collection in good order. Click “Edit ID3” button to edit your mp3 id3 tags.
Recording Tutorial
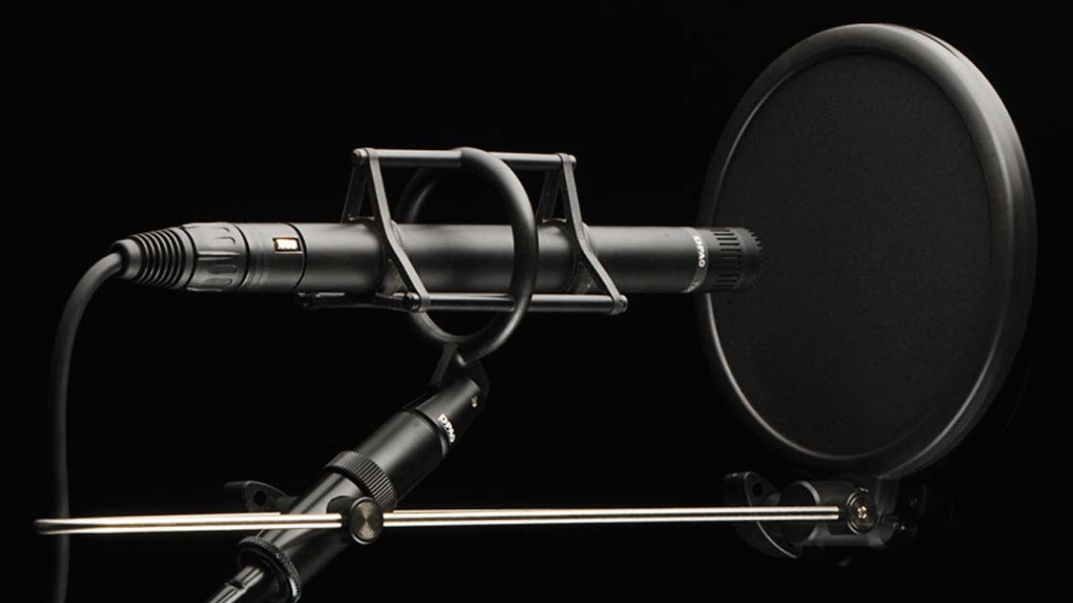
1.Record from microphone
Most sound cards provide the ability to receive sound input from a microphone through the sound card microphone port. This is useful for recording voice or sounds to your computer.
1. Check Your Hardware: If your microphone has never worked, or it stopped working, first check the physical connection of the microphone. Verify that it is firmly plugged into the microphone port instead of the headphone or speaker port. If you are not sure which port is correct, you can check the sound card to see if it is marked (sometimes with a picture of a microphone), you can use a process of elimination, check the documentation that came with your hardware, or contact the hardware manufacturer. Check casino en ligne if you want to gain some cash online.
2. Click the “Output File” Button, Select output path and enter an audio file name.
3. Choose the device “MIC” (Microphone) from the Sound Source combo box. You also can click “Record Control” button, Select “Microphone” or the equivalent in the Recording Device list. Adjust the Recording Volume if you are recording from the microphone for the first time.
4. Choose an output format for your files: WAV, MP3, OGG, Vox, G721, G723, G726, G729, AC3 and AAC. Click “Format Settings” -> “Formats and filters settings” to Select the appropriate quality in the Recording.
5. Click the “Record” Button (Hot key: “CTRL+ALT+R”) to begin recording sound from the microphone.
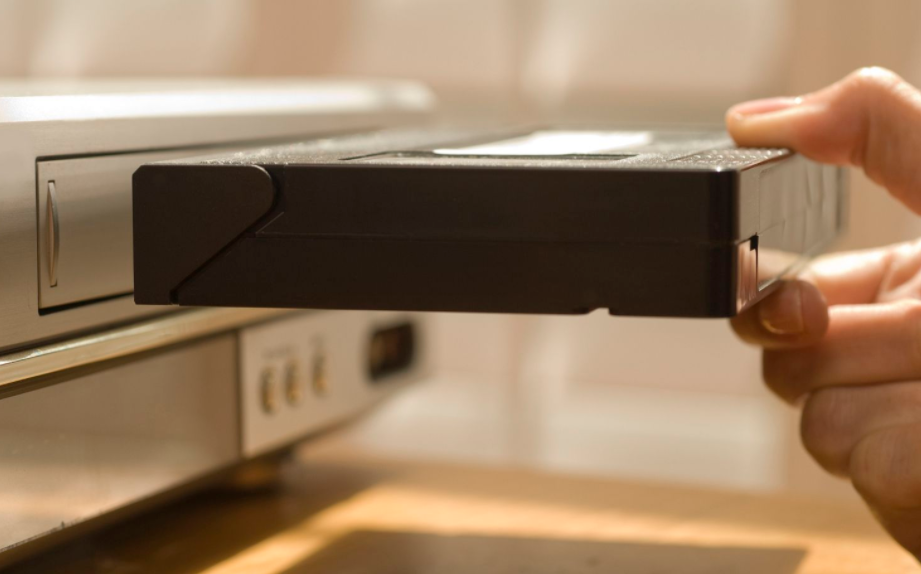
2.Record from videotape
You can get the audio from videotape to WAV, MP3, OGG, Vox, G721, G723, G726, G729, AC3 and AAC files with Any Recorder.
1. Connect the left and right audio-out terminals on the VCR to the line-in or microphone terminal on the sound card.
2. Click the “Output File” Button, Select output path and enter an audio file name.
3. Choose the device “Line-in” or “MIC” (Microphone) from the Sound Source combo box, You also can click “Record Control” button, Select the line-in or microphone device, adjust the recording volume for the highest possible performance. You might see other devices, such as CD-Player or Synthesizer (MIDI), in the recording panel, uncheck all non-essential devices, this cuts down background noise.
4. Choose an output format for your files: WAV, MP3, OGG, Vox, G721, G723, G726, G729, AC3 and AAC. Click “Format Settings” -> “Formats and filters settings” to Select the appropriate quality in the Recording.
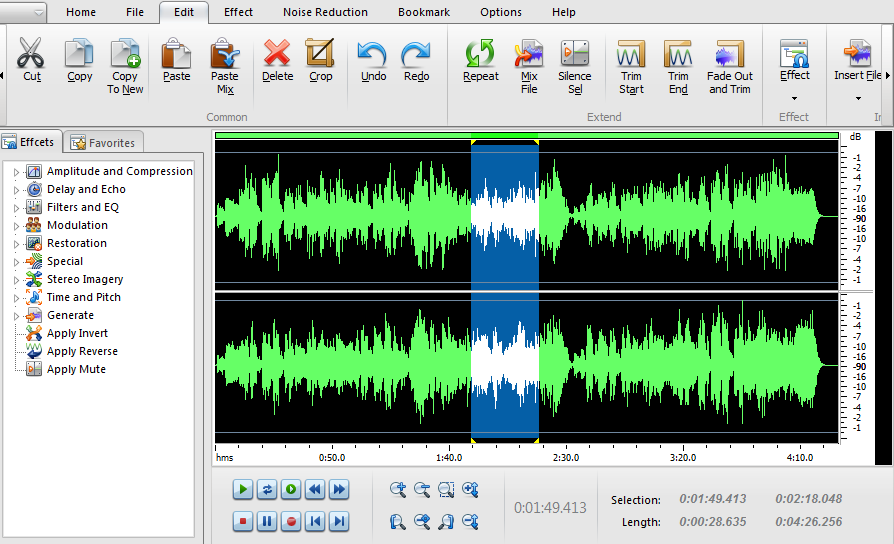
5. Now start the playback of the VCR and click the “Record” button (Hot key: “CTRL+ALT+R”) in Visual Sound Recorder. You should see a wave pattern display of the audio as it is playing. If the volume settings are too high, you see the wave patterns being clipped off and appearing to fill the recording window. If the settings are too low, you see only very small variations in the wave pattern. If the sound is being clipped off because the volume is too high, move the line-in or microphone volume setting down until most of the volume range is displayed without clipping. If the sound is too low, increase the volume setting. Ok, here’s the trick with the line-in or microphone input. If the recording effect is satisfactory, then stop the recording test by clicking “Stop” button (Hot key: “CTRL+ALT+S”) .
6. Depending on your sound card and the volume of the audio source, you might not get enough volume using the line-in input. In this case try the microphone input, as the volume sensitivity through the microphone input is generally greater than with the line-in input.
7. OK, let’s rewind the tape and start the playback from the point you want to record. Hit the “Record” button (Hot key: “CTRL+ALT+R”) and stand by. When you want to stop recording, just click “Stop” button (Hot key: “CTRL+ALT+S”) , and the destination sound file is there.
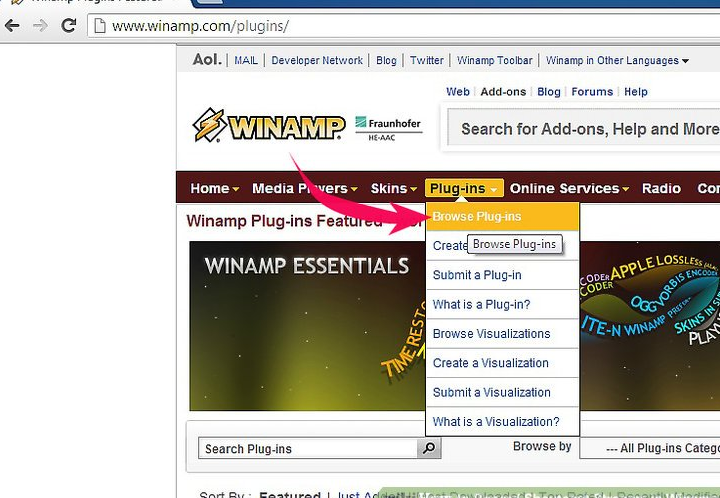
3.Record from streaming internet or WinAmp (Windows Media Player)
1. Click the “Output File” Button, Select output path and enter an audio file name.
2. Choose the device “Stereo Mix” from the Sound Source combo box. You also can click “Record Control” button, Select “Stereo Mix” device or the equivalent, in the Recording Device list. adjust the recording volume for the highest possible performance. You might see other devices, such as CD-Player or Microphone, in the recording panel, uncheck all non-essential devices, this cuts down background noise.
3. Choose an output format for your files: WAV, MP3, OGG, Vox, G721, G723, G726, G729, AC3 or AAC. Click “Format Settings” -> “Formats and filters settings” to Select the appropriate quality in the Recording.
4. Now start the playback of the Windows Media Player, Game or the stream audio from Internet and click the “Record” button (Hot key: “CTRL+ALT+R”) in Visual Sound Recorder. Adjust the volume setting by observing a wave pattern display of the audio as it is playing.
5. When you want to stop recording, just click “Stop” button (Hot key: “CTRL+ALT+S”) , and the destination sound file is there.
And lastly don’t forget to visit this site lariviera casino in order to relax your mind.
What’s New